
Welcome, welcome!! This year’s grief in the holiday how-to turned out to be so much more versatile than I thought it would be, lovies. Wait till you see all the different directions you can go with these little sparkly, cinnamon charmers.

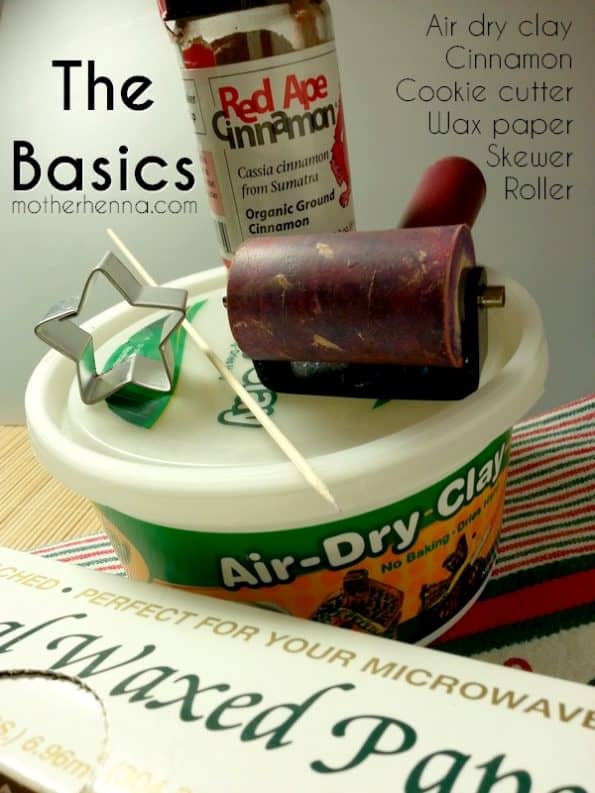
If you’d like the printable PDF of this kit, click here. Here’s a comprehensive list of what I ended up using:
- air dry clay
- cinnamon
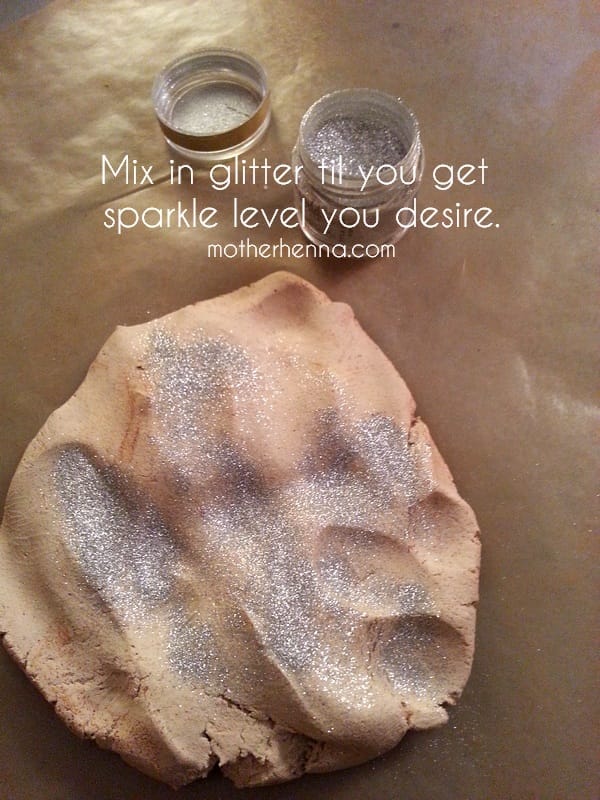
- silver glitter
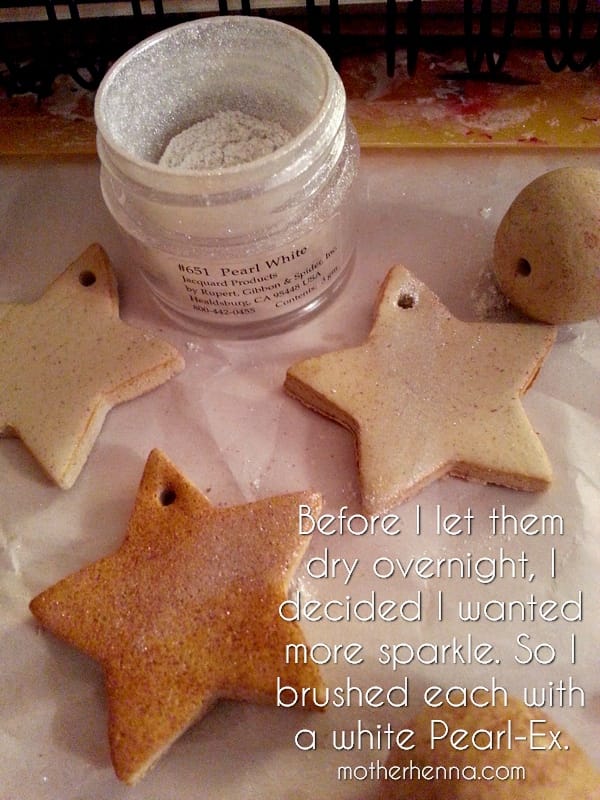
- white pearl-ex
- star shaped cookie cutter
- wax paper
- butcher paper
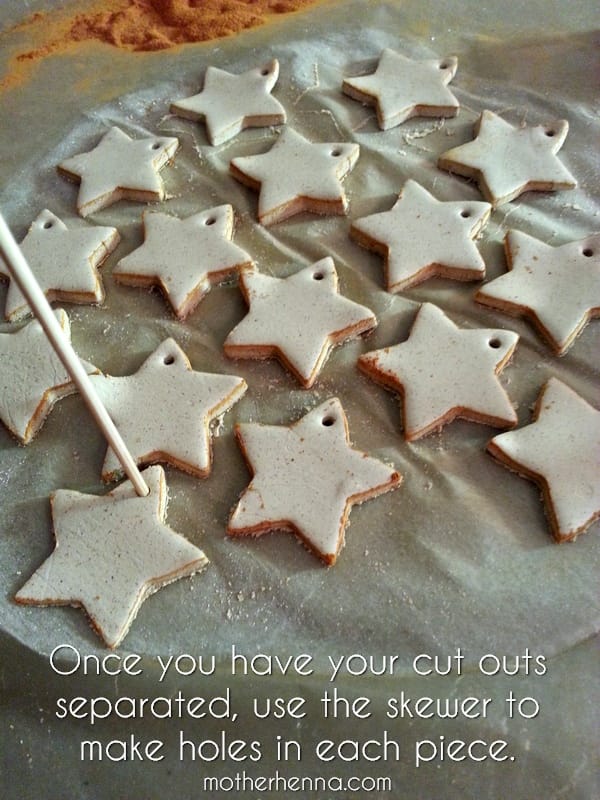
- wood skewer
- acrylic brayer for rolling out the clay and giving texture
- marble pestle that I ended up using as a hefty rolling pin
- soft paint brush for lightly brushing extra cinnamon and the pearl-ex on cut outs handcarved stamps in the shapes of hearts, stars, spirals
- mesh stencils in the patterns of circles and stars
- make-up sponge to stamp pattern of stencils onto clay
- red Distress Ink pad
- sparkly dark red color Gelly Roll pen
- upcycled floral wire
- various string and ribbons
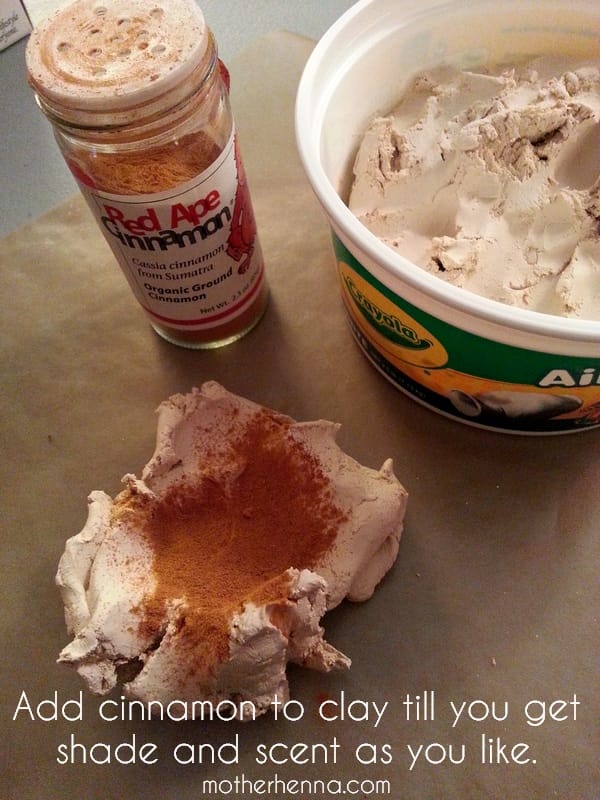
So the question I hear most often about my latest clay offerings is this: Why the kids air dry clay?!? Well, I’ll tell you, it is an interesting product to work with because it is non-toxic and it dries *incredibly* light. I’m sensitive to poly-clay and the like now because the chemicals released while baking it just set off my whole immune system. I don’t really have access to proper clay and kiln. And I know there are lots of great ideas out there for salt dough and such, but those also require baking. We are living as small as possible these days, so I do my best to reserve the energy for baking things we are eating. So wa-la! Air dry clay. Doesn’t affect my health and has a smallish, environmental footprint in terms of no energy needed for baking.
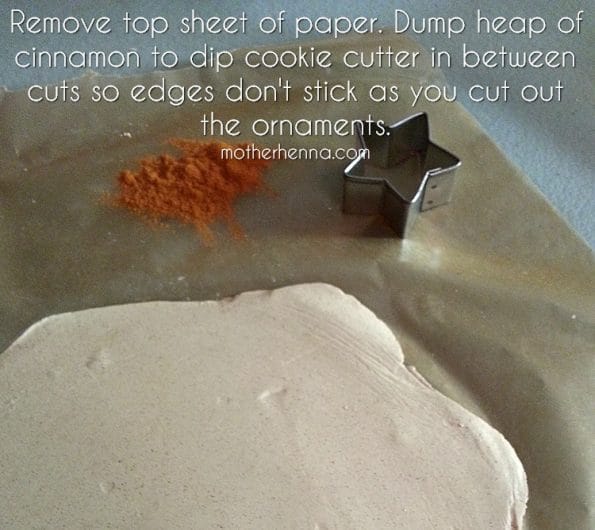
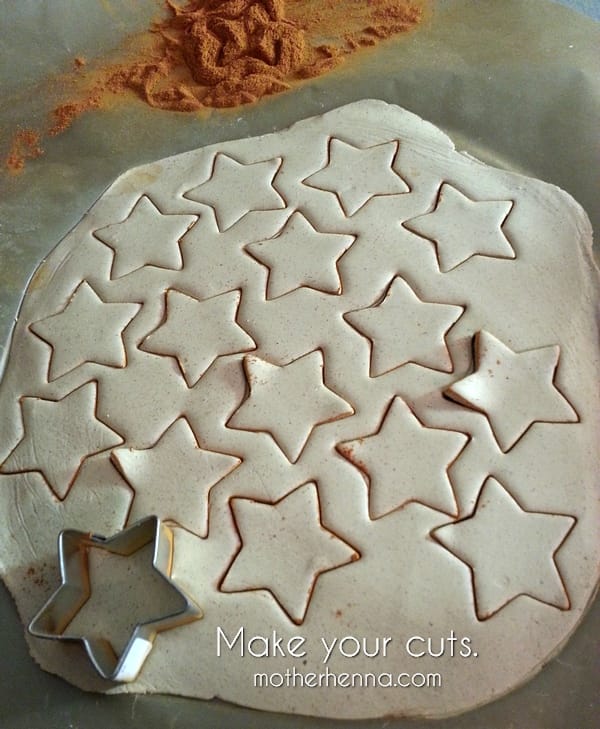
Okay, so, first step, I take out a hunk of the clay and work it a bit to make it as soft as possible and then:


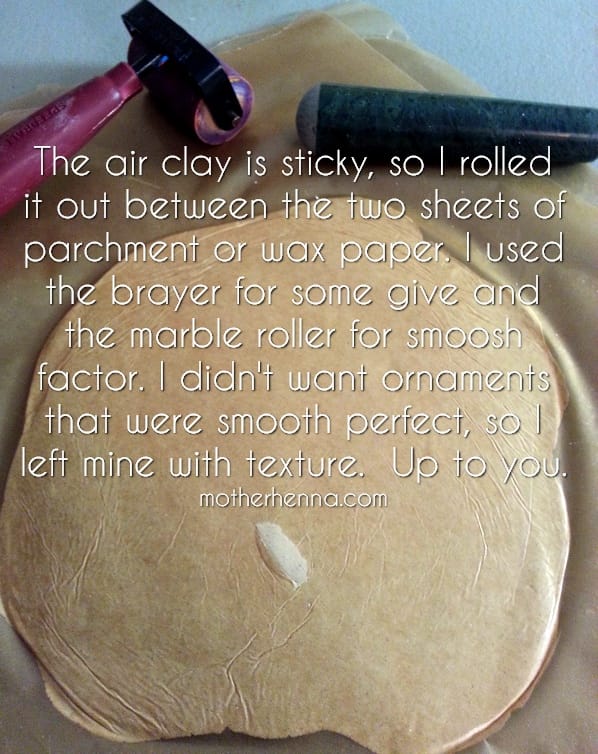
In the photo below, you’ll see that I first used the brayer to begin rolling out the clay. I like it because it is firm, but has some give. It also isn’t perfectly smooth, so I get to keep a bit of texture to the surface of the clay. But I did end up pulling out the marble pestle to really get a heavy smoosh so the clay got as thin as possible:


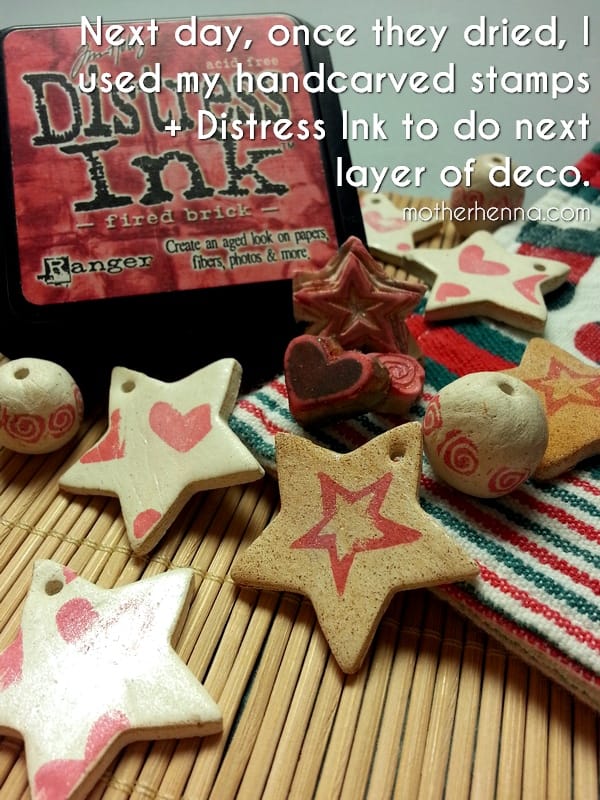


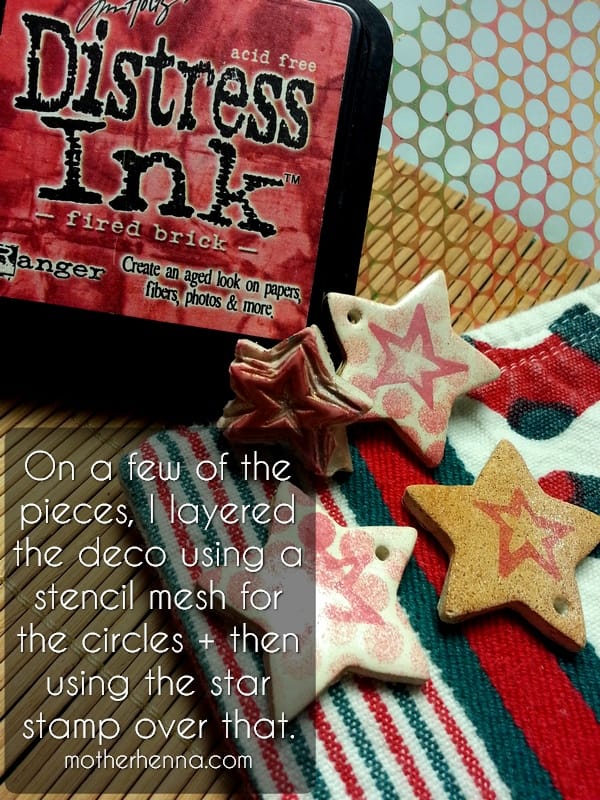

The easiest way to use the stencil mesh you see in the photo above is to place the mesh over the surface of your clay. Then dab a soft make up sponge into the ink stamp pad to pick up the color. And use the sponge to dab over the mesh. When you remove the mesh from the top of the clay, you’ll see the pattern is left behind in the color of ink.

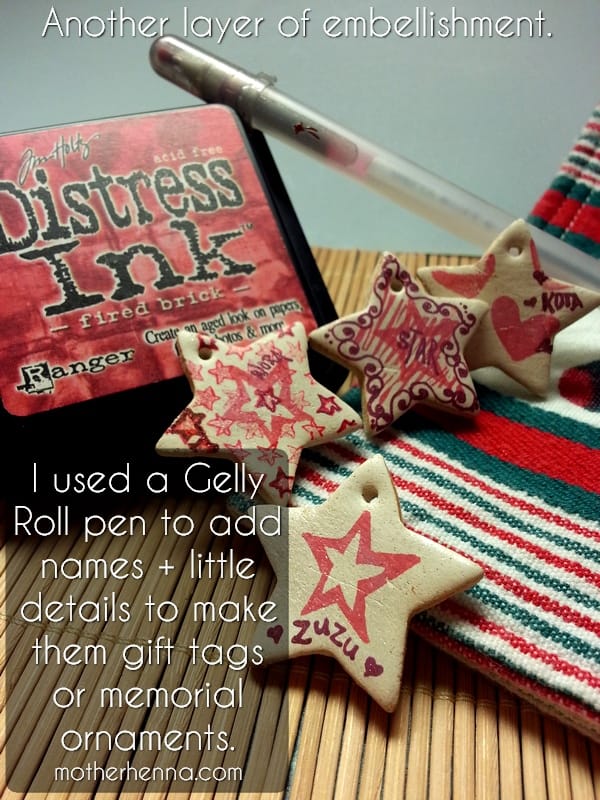

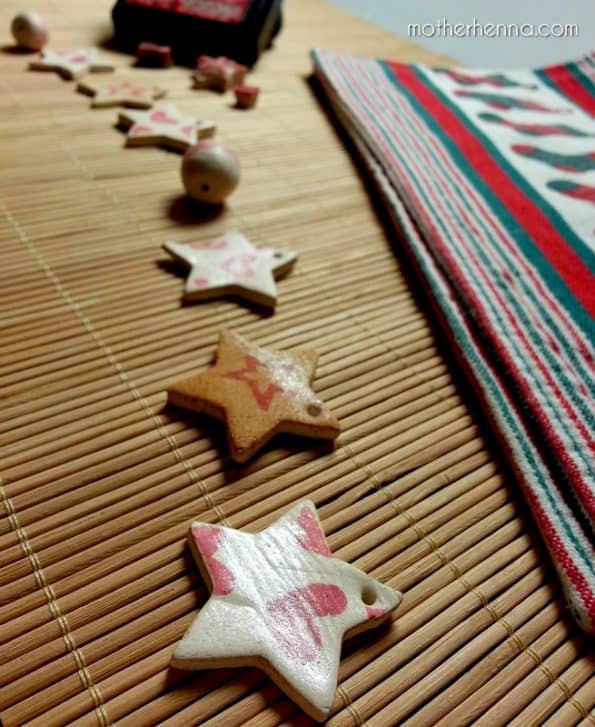
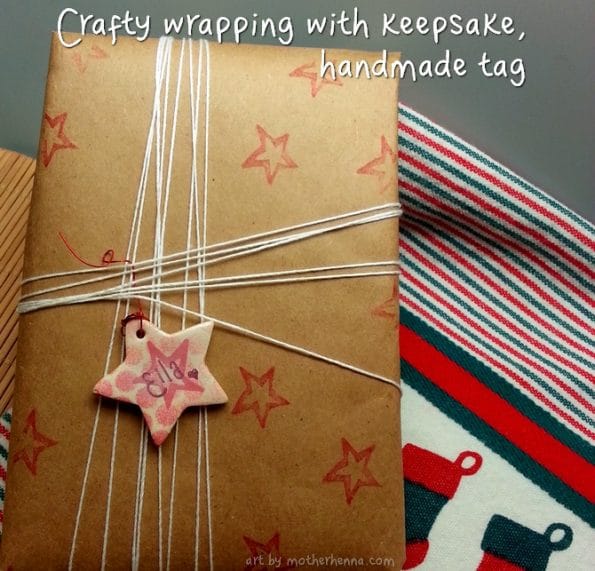
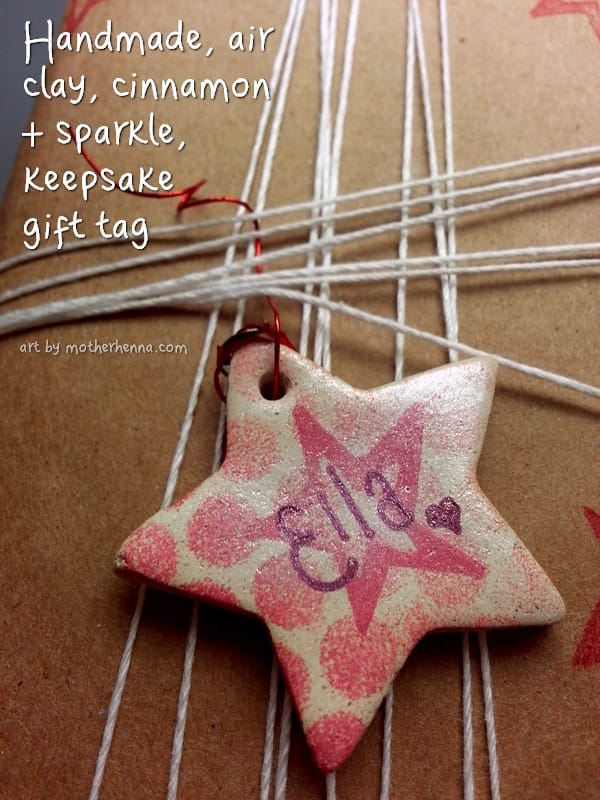
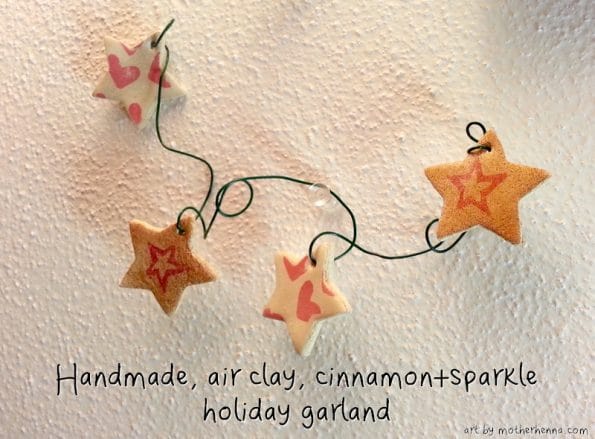
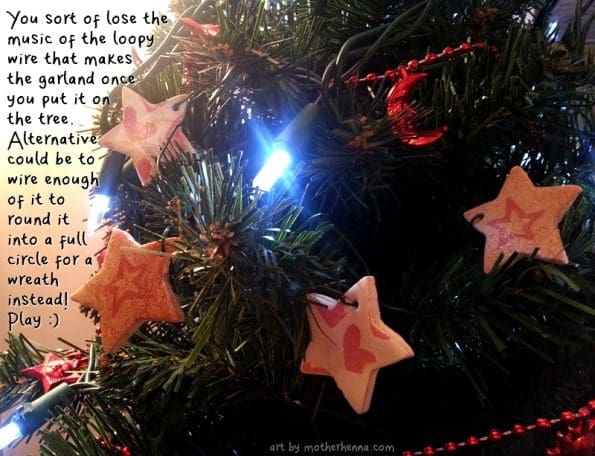
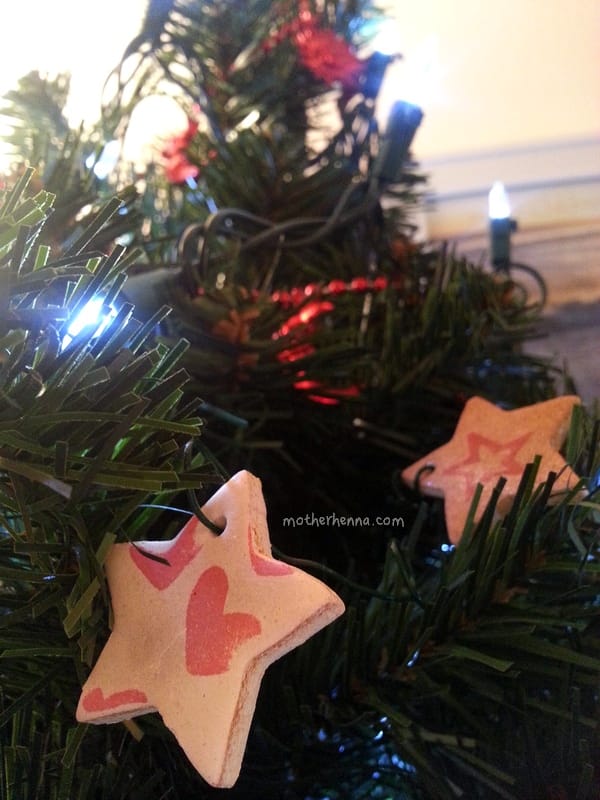
And that’s really all I did for the individual pieces, but here’s where the versatility really kicked in for these clay pieces! I had originally just thought I’d share them as memory ornaments displaying the name of a loved one we want to remember this season. But as I played with them, it struck me that we could add names of the living and wire them onto gifts as keepsake gift tags. We could wire them as holiday party favors and have people write their own names on them to use as glass charms for the night. And then when I was wiring them for gift tags, I realized you could wire them for garland or make a full wire circle to make a wreath. Check out the possibilities I tried below:


So that’s that, lovies! Hope you’ve enjoyed your time here today and will walk away with some sparks of inspiration and heART-full ideas.